Cart
0
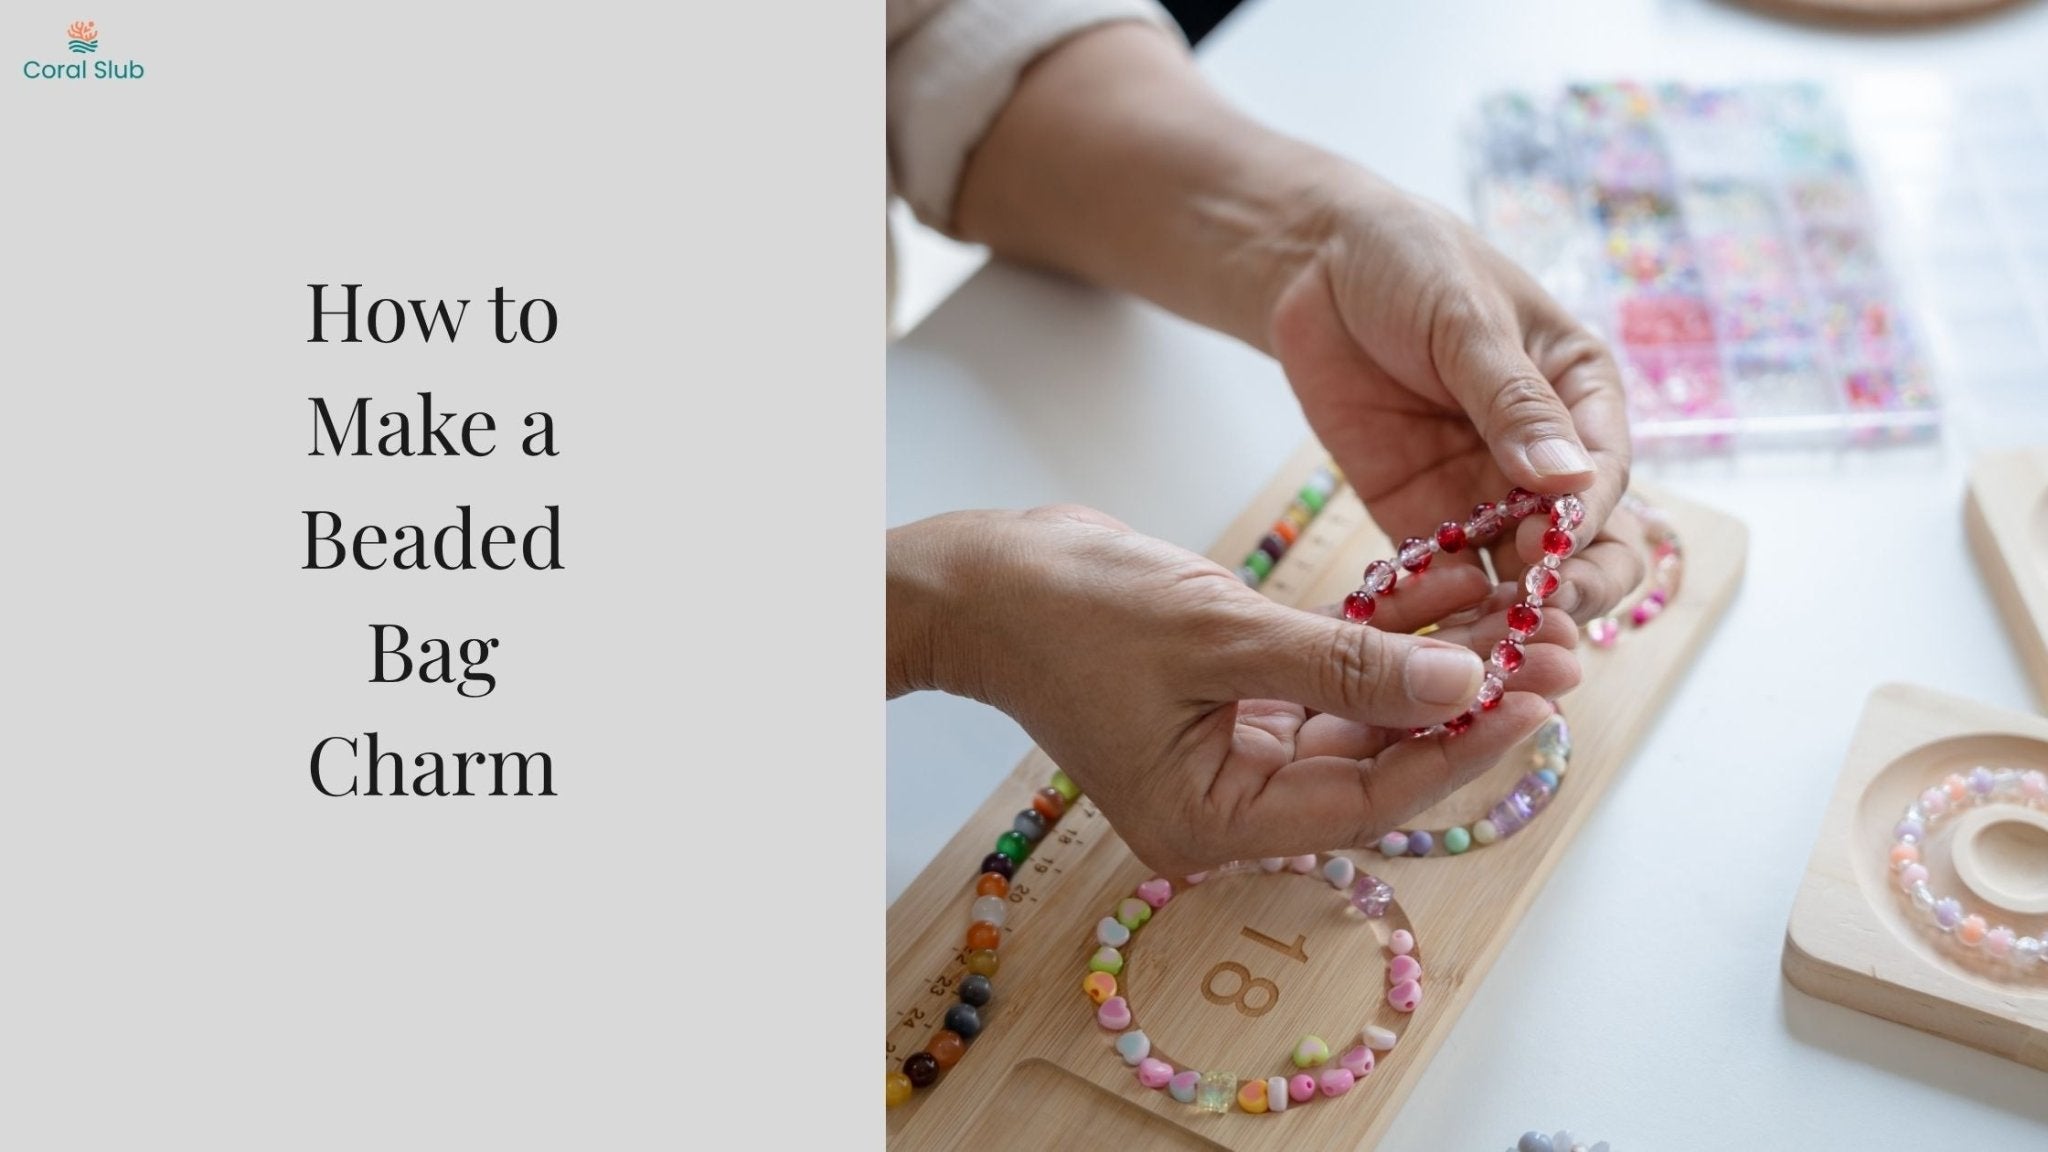
There’s something about small details that makes everything feel more personal. A simple tote becomes yours when you add a charm. A basic handbag feels styled. Even a backpack starts to reflect your personality. That’s exactly why beaded bag charms have quietly become everywhere.
But the best part is this. You don’t have to buy them.
Making your own beaded bag charm is not just more affordable, it is far more meaningful. You get to choose the colours, the textures, the little details that make it feel like you. And once you make one, you will realise how easy it actually is.
Why Beaded Bag Charms Are Trending Right Now

Bag charms sit at the intersection of fashion and craft.
They are playful without being loud. They add personality without overwhelming your bag. And unlike larger accessories, they can be changed frequently depending on your mood or outfit.
What makes them even more appealing is how customisable they are. From minimal monochrome styles to colourful, layered charms, there is no single way to create one.
What You Need to Get Started

Before you begin, gather everything in one place. The process is simple, but having your materials ready makes it smoother.
You will need a cord or string that is strong enough to hold beads, a key ring or clasp to attach the charm to your bag, and a selection of beads. These can range from basic pony beads to more decorative or handmade ones.
If you want to add more personality, you can include charms, initials, or even small handcrafted elements.
Step 1: Choose Your Base and Length

Start by selecting your cord and deciding how long you want your charm to be.
You can keep it short and minimal or slightly longer for a more layered look. Once you decide the length, cut your cord accordingly. If you are using a thicker cord, leave a little extra at the ends so it is easier to tie securely.
Attach the cord to your key ring or clasp. This forms the base of your charm.
Step 2: Plan Your Design Before Stringing

This is the step that makes the biggest difference.
Instead of randomly adding beads, take a moment to lay them out. Think about colour combinations, spacing, and how you want the charm to look overall.
Do you want it symmetrical or slightly playful? Minimal or layered?
Planning your design before stringing helps avoid constant adjustments later.
Step 3: Start Stringing Your Beads

Once your design is clear, begin threading the beads onto the cord.
Work slowly and adjust as you go. If you are mixing different bead sizes or textures, make sure the balance feels right. The goal is not perfection, but flow.
When you reach the end, secure the cord with a tight knot.
Step 4: Add a Finishing Detail

This is where your charm starts to feel complete. Instead of ending with just a knot, consider adding a small charm, a statement bead, or even a tassel at the end. This gives the piece a finished look and adds a little extra personality.
It is a small detail, but it changes how polished the charm feels.
Step 5: Layer It for a More Styled Look

A single strand looks clean and minimal.But if you want something more expressive, you can create multiple strands and attach them to the same ring. Layering different lengths, colours, or textures creates a more styled, collected look.This is also a great way to mix beads you already have.
How to Attach It to Your Bag

Most bags have loops, zippers, or handles where you can attach your charm easily.
If your bag does not have a direct attachment point, you can loop it around the handle or use a clip. The placement itself can change how noticeable the charm is, so feel free to experiment.
Styling Ideas to Make It Feel Unique

One of the best parts of this DIY is how flexible it is.You can create neutral-toned charms for everyday use, colourful ones for a playful look, or even themed charms for occasions. Mixing materials like beads, threads, and small trinkets adds depth.
Over time, you can even keep updating the same charm instead of making a new one every time.
A Thoughtful Gift That Feels Personal

Beaded bag charms also make surprisingly good gifts.
They are small, easy to customise, and feel more thoughtful than something store-bought. You can tailor the colours and elements to match the person you are gifting it to, making it feel personal without being complicated.
It is one of those DIY projects that feels simple to make but meaningful to give.
Final Thoughts

If there is one reason to try this, it is this.You don’t need new accessories to refresh your style. Sometimes, all it takes is a small detail that feels like you.
A beaded bag charm does exactly that. It adds personality, creativity, and a sense of ownership to something you already use every day.And once you start making them, you will realise how many versions you can create with just a few materials and a little imagination.