Cart
0
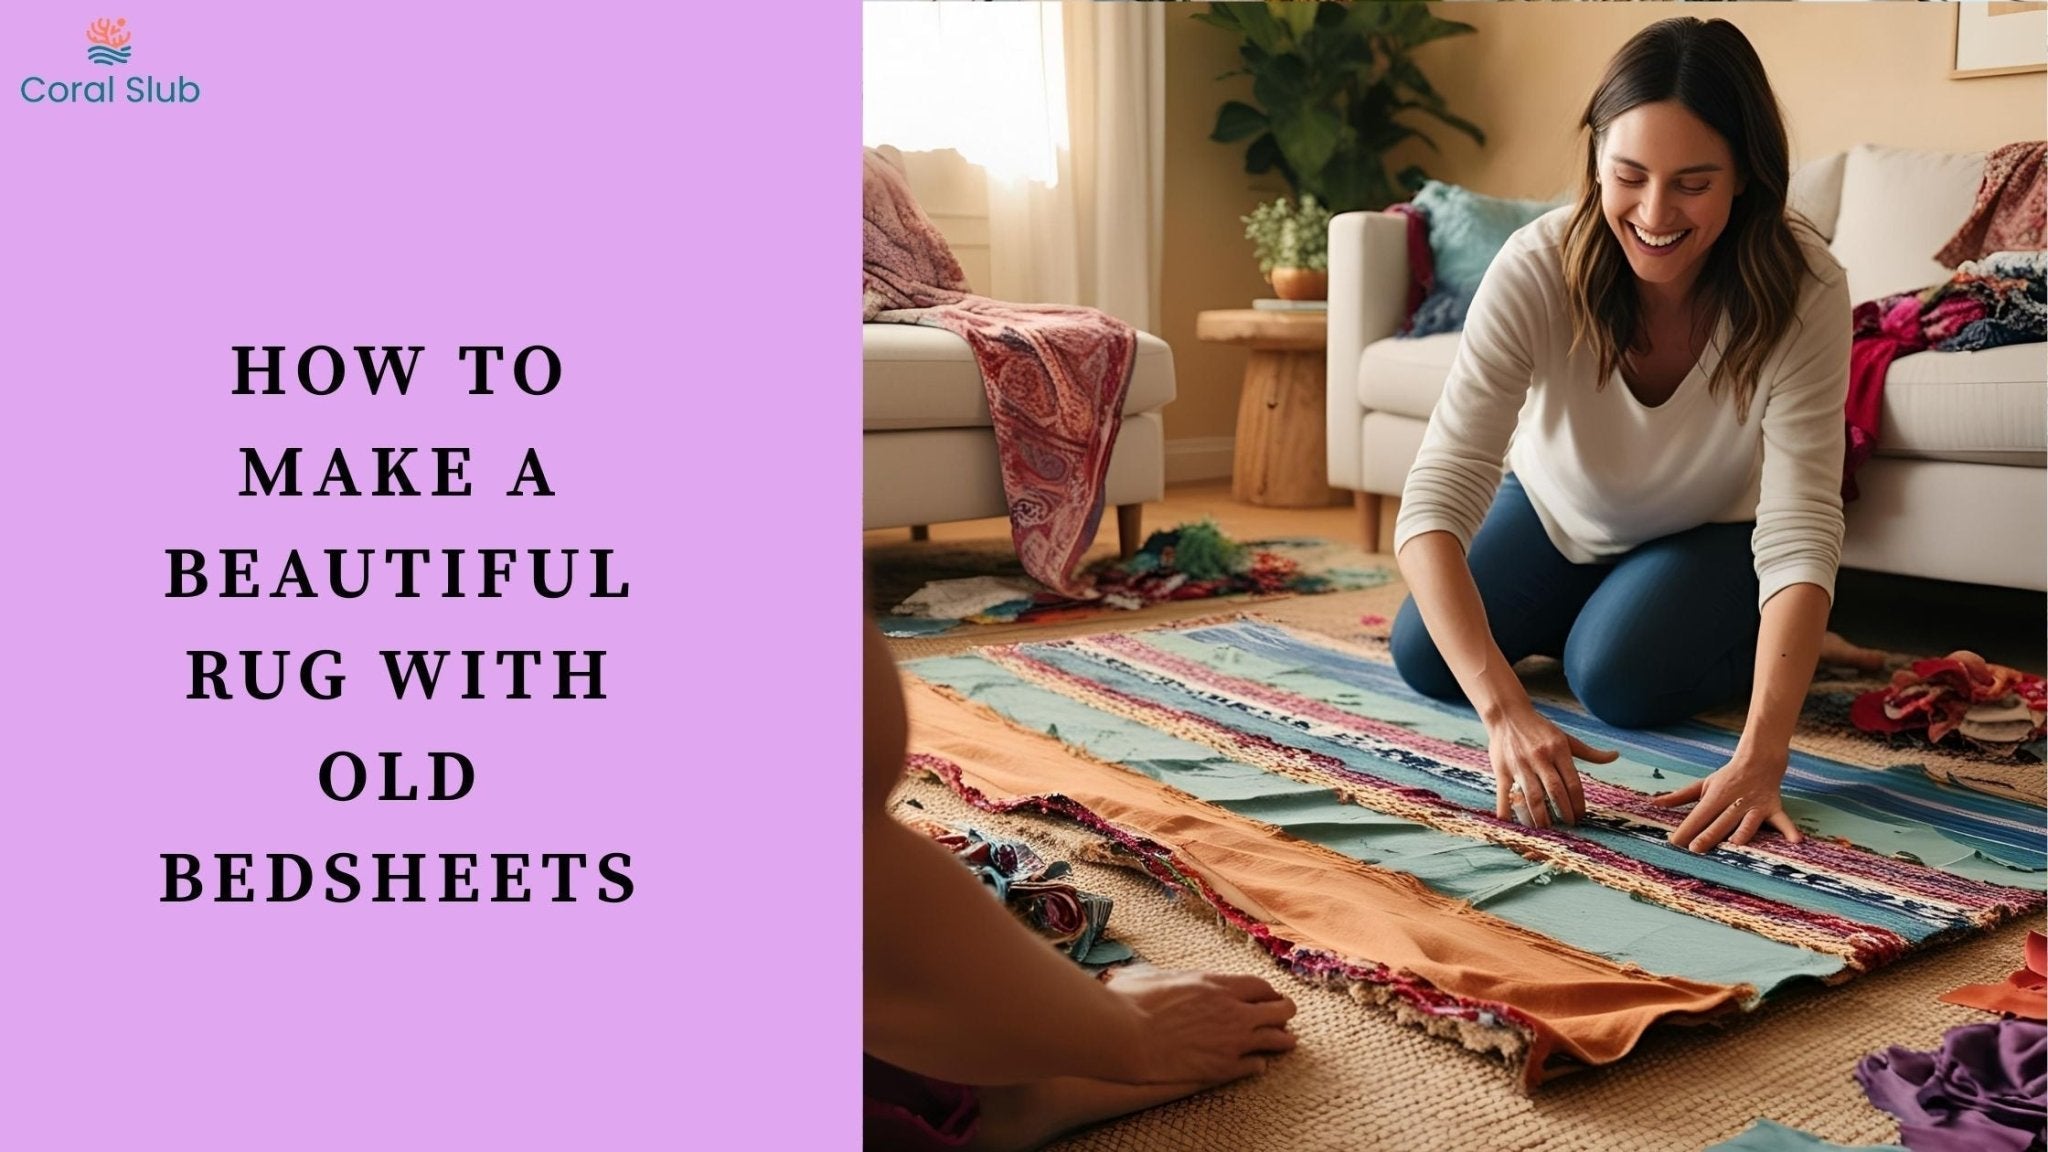
At Coral Slub, we believe in the full lifecycle of textiles. While our premium bedding is designed to last for years, even the most beloved sheets eventually reach retirement age. Rather than discarding these textiles, we're excited to share this comprehensive guide to transforming your old bedsheets into stunning, functional rugs that can give your home décor a personalized touch while reducing textile waste.
Why Upcycle Old Bedsheets into Rugs?
Before diving into the process, let's consider why sheet-to-rug transformation makes perfect sense:
- Sustainability: Each year, approximately 10 million tons of textile waste ends up in landfills. Repurposing extends the life of these materials.
- Cost-Effectiveness: Creating your own rug saves significantly compared to purchasing new ones.
- Customization: You control every aspect of the design, from color combinations to size and texture.
- Sentimental Value: Transform sheets with emotional significance into lasting home décor pieces.
Now, let's explore three distinct methods for creating beautiful rugs from old sheets, ranging from no-sew options to more advanced techniques.
Materials Needed:

-
3-6 old bedsheets (depending on desired rug size)
-
Sharp fabric scissors
-
Safety pins
-
Large flat surface for working
Step 1: Prepare Your Sheets
-
Wash and dry all sheets thoroughly to remove any dust or debris.
-
Lay each sheet flat on your working surface.
-
Remove any elastic bands, seams, or hems that might create bulk in your strips.
-
Set aside any severely worn or thin sections that could compromise your rug's durability.
Step 2: Cut Sheets into Strips
-
Starting at one edge of the sheet, cut continuous strips approximately 2-3 inches wide. For a chunkier rug, use wider strips (3-4 inches).
-
As you cut, roll the strips into manageable balls to prevent tangling.
-
When you reach the end of one sheet, set the strip ball aside and begin on the next sheet.
-
Aim for consistency in strip width for the most professional-looking result.
Step 3: Connect Your Strips
-
Place the end of one strip perpendicular to the end of another strip, forming an L-shape.
-
Fold the end of the first strip over the end of the second strip.
-
Pull the end of the first strip through the fold you've created, forming a secure knot.
-
Continue adding strips in this manner until you have three very long strands.
-
For color patterns, plan your strip connections to create intentional color sequences.
Step 4: Begin Braiding

-
Secure the three strands together with a tight knot.
-
Pin this starting point to a firm surface or have someone hold it.
-
Braid the three strands using a standard three-strand braid technique: left strand over center, right strand over center, repeat.
-
Maintain consistent tension throughout—not too tight (which causes curling) and not too loose (which creates gaps).
-
Continue braiding until you've used all your strips or reached your desired length.
Step 5: Form the Rug Shape
-
For a round rug: Start by coiling the braided strand around itself in a spiral. Place safety pins every few inches to hold the coils together.
-
For an oval rug: Create a central straight section, then continue coiling around it.
-
For a rectangular rug: Form straight rows of braid that double back on themselves, pinning adjacent rows together.
Step 6: Secure the Rug Structure

-
Using matching thread or thin strips of sheet material, sew adjacent braids together on the underside of the rug.
-
For a no-sew option, use fabric glue designed for textiles, applying it between the braids on the underside.
-
Work in sections, allowing adhesive to dry before moving to the next area.
-
Once fully secured, remove all safety pins.
Tips for Rug Success
Choosing Sheets:
- Cotton sheets work best for these projects due to their durability and absorbency.
- Higher thread count sheets create sturdier strips less likely to fray.
- Consider color combinations carefully,contrasting colors create bold statements while complementary hues create subtle elegance.
Maintenance:
- Most sheet rugs can be machine washed on gentle cycle and air-dried.
- For larger rugs, spot cleaning or professional rug cleaning is recommended.
- Shake out regularly to remove dust and debris.
Where to Display Your Handmade Rug

Your sheet-to-rug creation can enhance numerous spaces:
- Bathrooms: Absorbent cotton sheet rugs are perfect beside showers or sinks.
- Children's rooms: Create playful, washable rugs in bright colors.
- Entryways: Durable braided rugs withstand heavy foot traffic.
- Outdoor spaces: Treated with fabric protector, these rugs can enhance patios or porches.
Conclusion:
At Coral Slub, we believe quality textiles should never truly reach the end of their lifecycle. When our premium sheets have served their time on your bed, this transformative process gives them new purpose and beauty underfoot. The satisfaction of creating something functional and beautiful from materials that might otherwise be discarded brings a special joy,both environmentally and creatively.
We'd love to see your sheet to rug transformations! Share photos of your creations on social media with #CoralSlubSecondLife, and you might be featured on our sustainability showcase. Remember, yesterday's bedding can become tomorrow's statement piece with just a little creativity and effort.
For more upcycling projects and sustainability initiatives, visit our blog at www.coralslub.com, where we continue exploring the full potential of textile life cycle.